Choosing a dental implants system is a complicated decision to make – this article is courtesy of the Glasgow Smile Gallery and we thank Dr Bruce for his time.
My Experiences with the Biohorizons dental implant system
Choosing a dental implant system to use is a daunting task. The market is full of different systems each with its own unique selling point and each claiming superiority.
I placed my first dental implant 4 years ago and have used 3 different systems. In the article below I will explore my experiences with the Biohorizons tapered internal implant system. The tapered internal implant is my ‘go to’ implant for the majority of cases.
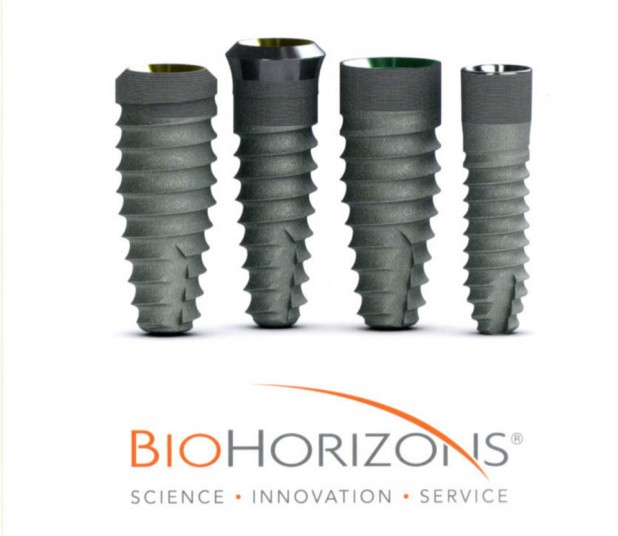
Features
progressively tapered body with a 1.5 mm deep internal hex connection.
Reverse buttress thread pattern with RBT treated Titanium.
Has a laseloc collar
Comes with a 3 in 1 abutment connected
Comes in lengths of 7mm 9mm 10.5mm 12mm and 15mm
Comes in widths of 3.8mm 4.6mm and 5.7mm
The reverse buttress threads give amazing primary stability of the implant even in D4 bone and is particulary useful for immediate implant placement. Having the abutment already attached to the implant makes it very easy to visualise you depth when placing using a flapless technique, as the predefined margin is placed 1mm subgingival. The laser lock collar has been shown to promote soft tissue attachment to it. This inhibits recession but also means you have flexability in placement ie supracrestal or partly supreacrestal in an uneven ridge.
Words of caution
A tapered implant into an undersized osteotomy can cause tremendous stress on the cortical bone and its common to see microfractures. All bone types require you to use the cortical bone drill to depth to allow pressure free seating of the implant collar.
D1 and D2 bone should have the osteotomy pretapped at high torque and low RPM. Otherwise insertion torques can reach over the recommended 35 Ncm.
I always leave 3 months until uncovery and also prefer a 2 stage approach with impressions taken 2 weeks post healing cap placement.
Use of the 3 in 1 abutment makes impressions taking very easy and that same abutment is prepared by the lab to allow use as the permanent abutment. This is very cost effective and usually results in lab bills being less than €180.